LED Acrylic Display
Project Requirements
- Complete both online and in-person training
- Complete additional skills training: Wood shop training
- 1x 8in x 8in Acrylic Square
- 1x LED Strip Light with Remote
- 1x Battery
Click on each section below to learn about this project. Happy building!

Step 1: Gathering Materials
Gather your build components from the LF Staff. You are responsible for keeping your parts together and bringing them back with you if you plan on completing the build through multiple days. You should receive the following Items:
(1) 8in x 8in Acrylic Square
(1) LED Strip Light with Remote
(1) Battery

Step 2: Cutting your Wooden Base
You will need to cut a piece of MDF to the correct size and shape necessary for the base you are going to make. The material is currently in a long board. You will have to layout a piece so that you can get a finished product of XXin x XXin. To do that you will need a tape measure and a pencil or awl. Once your wood part is laid out, you will use the miter saw. Cut your material right on your line using the shadow guide feature of the miter saw.

Step 3: Routing the Holding Slot
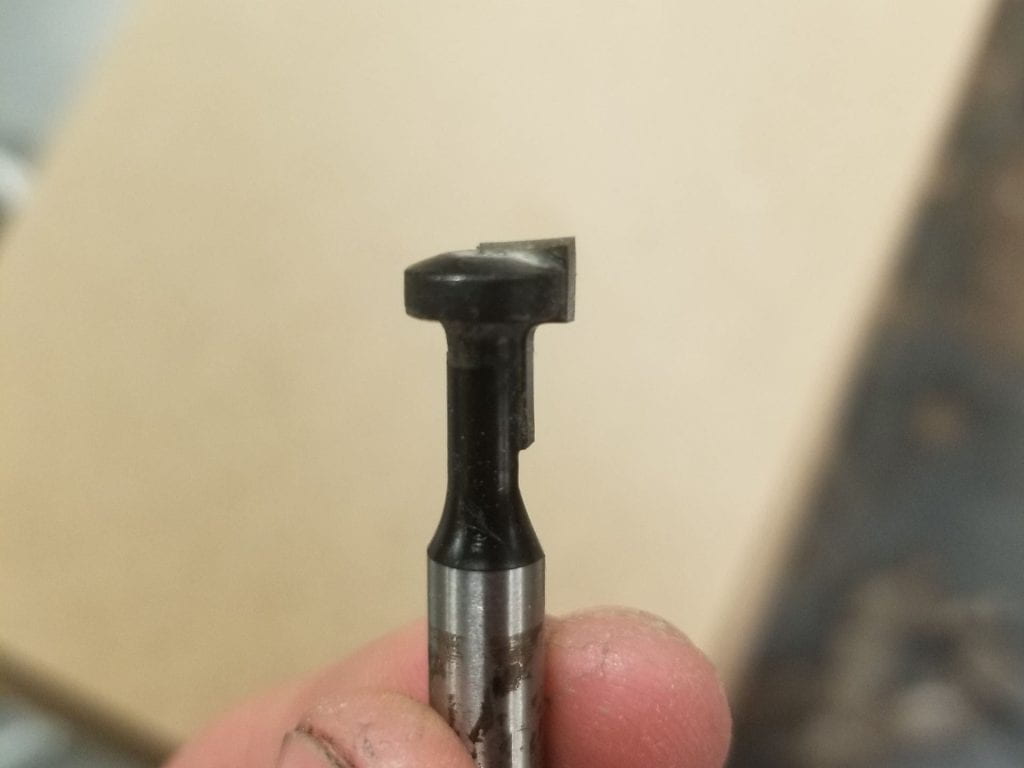
The next step is to create the channel that holds the acrylic upright. You will be using the router table. The cutter we have cuts the slot to the correct dimensions. You may have to change the router bits out of the machine. If this router bit is not inserted into the router at the time, please reach out to a Learning Factory staff member to assist you in changing the bits out of the router.
Step 4: Engraving the Acrylic
The next step of the project is to laser etch a design onto your acrylic. This is where you come up with the design that you want. You can etch virtually anything onto the acrylic. The laser cutter in the Learning Factory accepts ether a .dxf or Adobe Illustrator file. Once you have your file created, find a Learning Factory Staff member to help you run the laser cutter.
Refer to the equipment page, under Fab South for information regarding the laser cutters!

Step 5: Cutting the LEDs to Length
You will need to the LEDs to the correct length to fit inside your light base. There are scissors marks specified on the LED strips. Please use a pair of scissors to cut the LEDs on the first scissor mark. Scissors are found in the top of the red toolboxes located near the Learning Factory Office. CAUTION: Cutting anywhere that is not specified with a set of scissors will cause the lights to not work.

Step 6: Assembling
The last step of this project is to assemble all your finished parts into the light. The first step is to run the LED Strip through the wide portion of your MDF base. Next place the acrylic into the thin portion of the slot of the MDF base. It may be snug, but work the part slowly into the slot. Slamming it or hammering it into the slot may crack the acrylic or MDF and break the LEDs. The last step is to plug in the LEDs and put the battery into the remote. Please test your lights before you leave the Learning Factory.

Additional Photos

